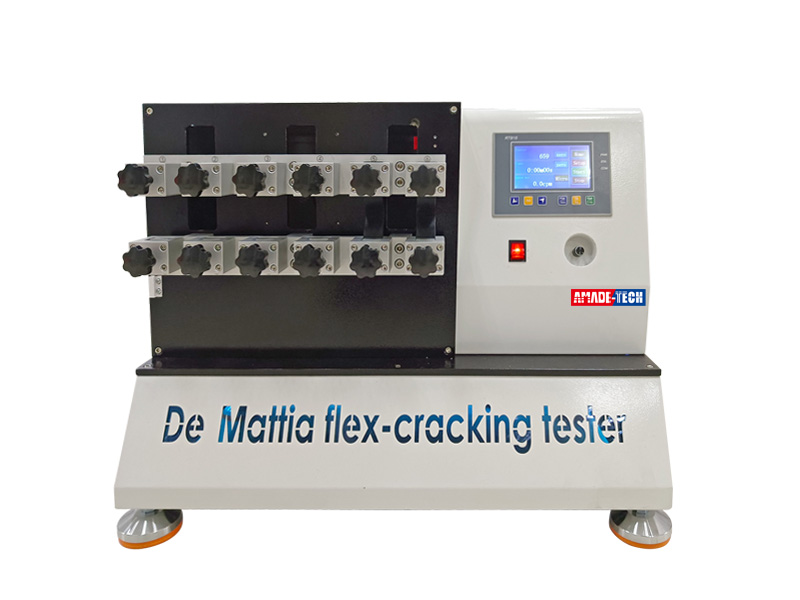
DeMattia Flexing Fatigue Tester

DeMattia Flexing Fatigue Tester China Manufacturer

DeMattia Flex Tester is also called the DeMattia flexing fatigue tester. It is used to determine the resistance of vulcanized or thermoplastic rubbers to the formation and growth of cracks when subjected to repeated flexing or extension.

When measuring the ability to resist flexing-fatigue cracking, a circular molded groove of the specified size is required at the midpoint of the longitudinal length of the specimen and is perpendicular to its longitudinal axis. To determine the crack growth, the bottom of the groove at a point equidistant from the sides needs to be pierced by a piercing spear, which artificially initiates cut growth in the flex area of the specimen to make it prone to cracking.

Besides rubber specimens, It is also applicable to coated leathers, soles, and coated fabrics.

AmadeTech DeMattia flex tester is available in 1 row or 2 rows of gripping devices to hold 6 pcs or 12 pcs of the specimens at a time. For 12-station machine, it shares the same movable assembly in the middle. Specimens in one row are flexed, while the specimens in the other row are straightened during the test.

The selection of the grip number depends on your requirements. Please advise us of your preference when sending the inquiry.
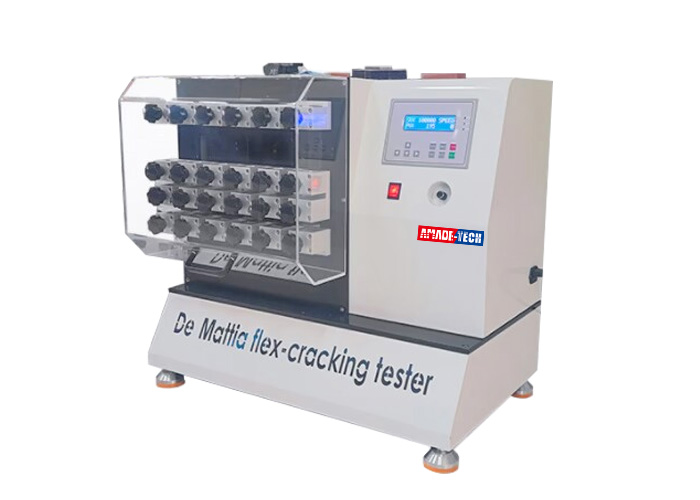
12-station DeMattia Flexing Fatigue Tester

12-station DeMattia machine

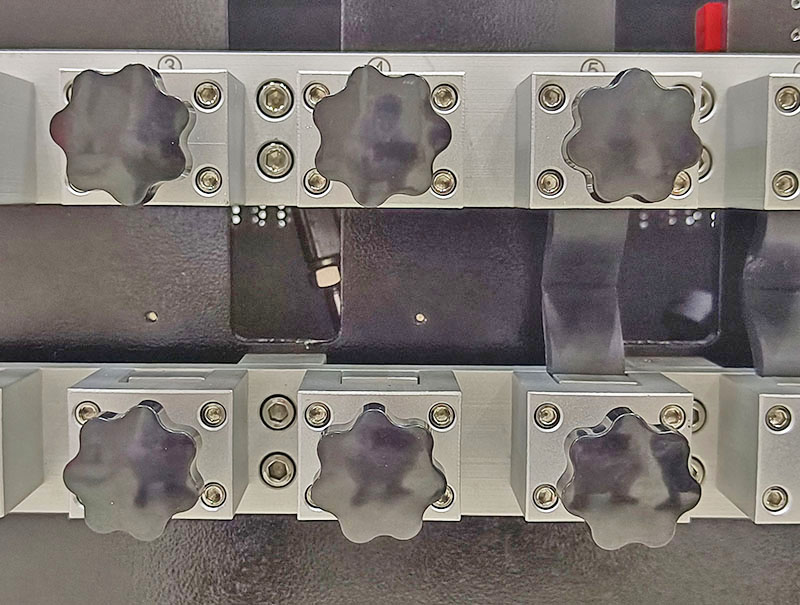
Sample holding devices

Sampe holding devices

A stationary grip and a movable grip are arranged at the same vertical plane and with both vertical axes on the same vertical line to form a pair of opposing gripping devices. Each grip consists of a jaws under control by the screw. As loosing the screw, the gap between the jaws widens, allowing you to insert the specimen lengthwise from above. For the determination of crack growth, an artificial cut is required to be made in the sample by a piercing tool to initiate cut growth. Two ends of the specimen are held by the stationary and movable grips, respectively. The movable grip is able to reciprocate vertically in a straight line with a travel of 57 mm to generate a maximum separation of 76 mm and a minimum separation of 19 mm. A constant-speed motor drives the movable grip by means of the eccentric and connecting rod, enabling fast movement as high as 300 cpm.

You are available to set a desired number of cycles before the commencement. The real-time number of cycles is displayed on the screen while the test is running. The machine stops automatically once the predetermined number of test cycles is achieved.

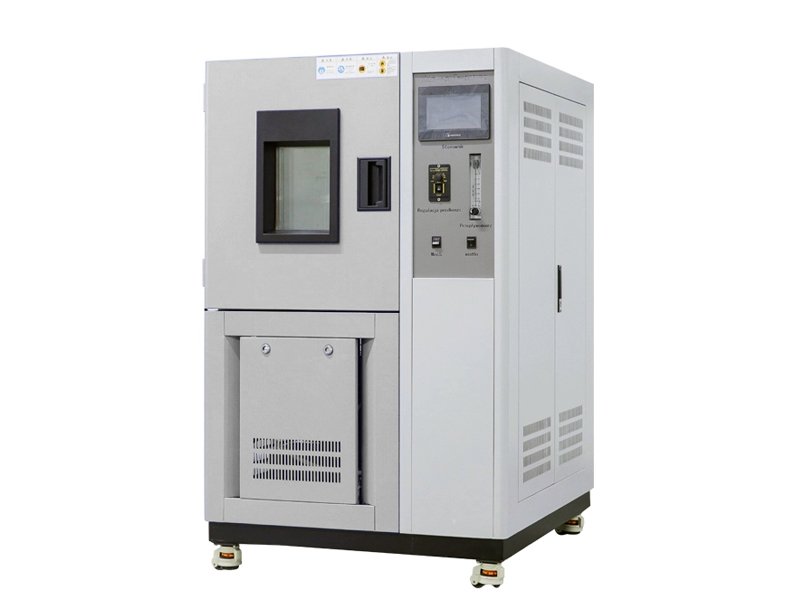
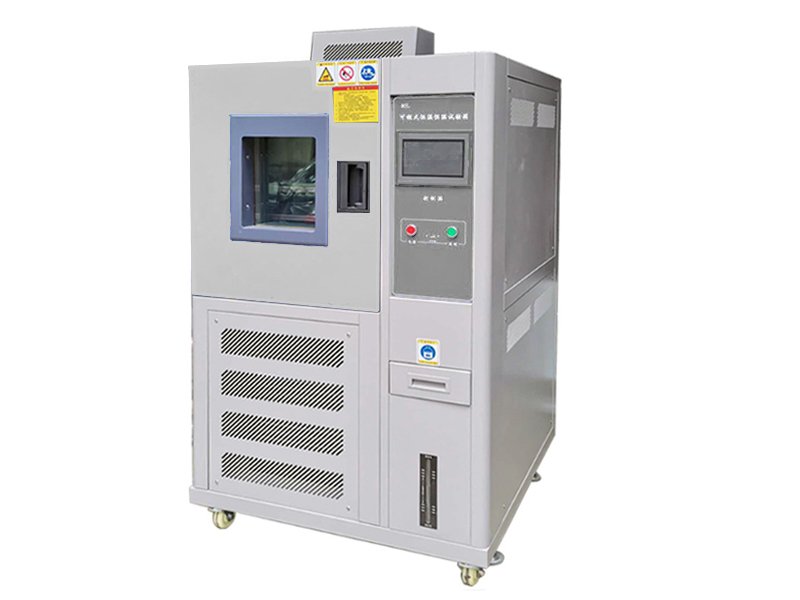
If required, AmadeTech can supply a DeMattia flexing machine with a chamber to give the specimen under test specified low or high temperature and humidity conditions.

Test Standards

ASTM-D813 ASTM-D430, BS-903, ISO-132, GB/T13934, GB/T13935, JIS-K6301 etc.

DeMattia Flexing Fatigue Test Principle

A pair of opposing grips is separated to the maximum distance. One end of the test piece is mounted in the stationary clamp, and the other end is secured in the movable clamp, ensuring that the groove is parallel to the bending axis and sits symmetrically midway between the upper and lower clamps. Visual examinations at frequent intervals are needed after machine actuation until the first small sign of cracking is detected on the specimen to determine the flex cracking, or measurements of cut length at frequent intervals are required to determine the crack growth.

Contact Form Demo (#3)

Core Technical Parameters

Model AT-R7016
Test Station 6, 12 or specified
Specimen size (140 ~ 155) x (20 ~ 25) x 6.3 mm
Grip spacing 19 ~ 75 mm
Reciprocation travel 57 mm
Test speed (300±10) CPM adjustable
Counter 0 ~ 999,999
Dimension 55 x 44 x 69cm
Weight 78 kg
Power 1 phase, AC220V / 110 V±10%, 3A

DeMattia Flex Tester Features

  • Capable of conducting flex cracking tests and crack growths.
  • As many as 12 test pieces can be clamped into one machine and tested at the same time.
  • Powered by an excellent motor with constant velocity to drive the flexing run.
  • The flexing cycles can be counted automatically and presented via the digital screen.
  • Easy accessibility with simple buttons and operation.
  • Complies with different international and domestic test standards.

FAQs

Determining flex cracking and crack growth on rubber materials using the DeMattia flex tester is important for several reasons:

Product Performance

Rubber materials are commonly used in various applications, including automotive tires, seals, gaskets, and industrial components. Understanding how these materials behave under flexing is crucial to ensure their durability and performance over time. Flex cracking and crack growth tests help manufacturers assess the resistance of rubber materials to fatigue failure, which can affect the overall performance and lifespan of the products.

Safety and Reliability

Flex cracking and crack growth can compromise the integrity of rubber components, leading to potential safety hazards or failures. For example, in the case of automotive tires, cracks can lead to blowouts or reduced traction, increasing the risk of accidents. By determining the flex cracking and crack growth characteristics of rubber materials, manufacturers can identify potential failure points and take appropriate measures to enhance safety and reliability.

Material Selection and Optimization

Different rubber materials exhibit varying resistance to flex cracking and crack growth. By conducting tests, manufacturers can compare the performance of different rubber formulations and select the most suitable material for a specific application. Furthermore, understanding the factors that influence crack growth, such as material composition, processing conditions, and environmental factors, allows manufacturers to optimize the material’s formulation and processing parameters to enhance its resistance to cracking.

Quality Control

Flex cracking and crack growth tests serve as quality control measures for rubber materials. By establishing testing protocols and acceptance criteria, manufacturers can ensure that their products meet the required standards and specifications. Regular testing during production helps identify any deviations or inconsistencies in material properties, allowing for timely corrective actions and maintaining consistent product quality.

Research and Development

The determination of flex cracking and crack growth behavior provides valuable insights for researchers and material scientists. By studying the mechanisms and factors influencing crack initiation and growth, researchers can develop new rubber materials or modify existing ones to improve their resistance to cracking. This knowledge can lead to the development of more durable and reliable rubber materials with enhanced performance characteristics.

Overall, understanding flex cracking and crack growth on rubber materials is vital for ensuring product performance, safety, and reliability, as well as for material selection, optimization, quality control, and research and development purposes.

  • Each test piece is a strip of 150 / 155 mm in length, 25 mm in width, and 6.3 mm in thickness, which can be moulded individually in a mould, or can be cut from the wide slab. A molded groove is required to be located across the width and passing through the midpoint of the length. The radius of this groove shall be (2.38±0.03) mm or (2.39±0.03) mm, depending on different test standards, and the groove must have a smooth surface and be free from irregularities.
  • For test pieces used for determination of crack growth, each one shall be prepared by piercing the bottom of the groove at a point equidistant from the sides using a piercing tool form an initial cut 2 mm in width. The cut should be parallel to the longitudinal axis of the groove.
  • Different standards have slightly different requirements for test pieces, such as dimensions. Please strictly abide by the specific requirements of the standard you follow when preparing specimens.
  1. Set up the machine and plug in the power.
  2. Separate the pairs of grips to their maximum extent, then loosen the screws to insert the specimens in the grips. One end of the specimen shall be clamped in the stationary grip and the other in the movable grip. It shall ensure that the specimens are flat and without tension after being mounted, with the groove in each test piece midway between the two grips where the test piece is held.
  3. Light up the touch screen, then set a desired number of flexing cycles or test duration, then press the “Start” key to start the test run. Turn the speed adjusting knob clockwise to raise the speed to the maximum: 300 CPM.
  4. For the determination of flex cracking, you need to continue the test with frequent inspections until the first small sign of cracking is detected on each test piece. For determination of crack growth, you need to measure the length of the cut at frequent intervals such as 3000 cycles and 5000 cycles. The grips need to be separated to a distance of 65 mm while conducting each inspection of the test piece or measuring the length of the cut, preferably using a low-power magnifying glass.
  5. Grade the cracking based on the different test behavior or calculate the required crack growth data, such as the number of kilocycles required for the different cut extensions.

Request a Quote Now

Please feel free to contact us for more details on the product, price, lead time, payment terms, shipment methods, etc. Amadetech sales specialists will respond within one working day.

Contact Form Demo (#3)

Related Products