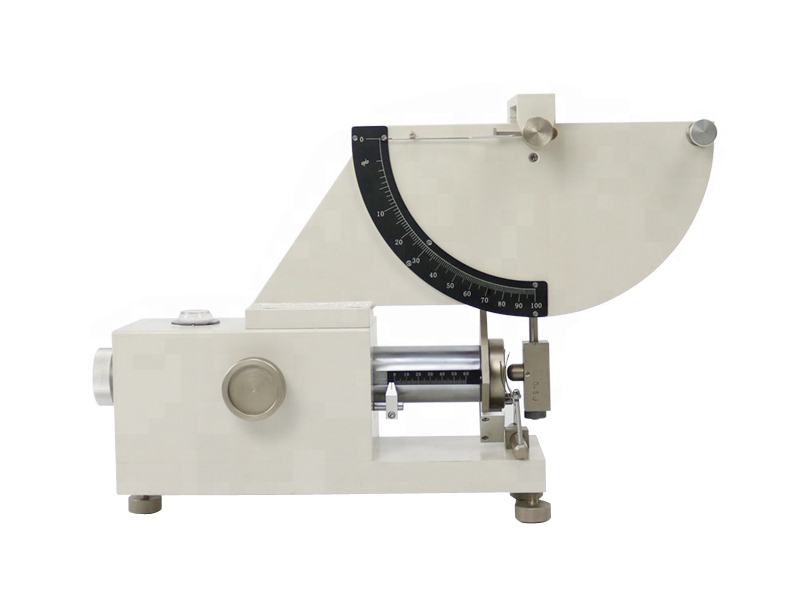
ASTM D2632 Vertical Resiliometer China Manufacturer AT-R7008
Vertical Rebound Resilience Tester is a specialized rubber testing instrument intended to determine the impact resilience property of solid rubber via measurements of the vertical rebound heights of a dropped mass.
Resilience is a function of both the dynamic modulus and internal friction of rubber. It is very sensitive to temperature changes and the plunger’s penetration depth, so resilience values from different types of rebound instruments or at different times may be different.
This Vertical Rebound Resilience Tester is very useful in producing compounds designed to absorb vibration or shock.
Test Principle
The top of the plunger is positioned at a height aligned with 100 marked on the scale above the specimen(the drop travel of the plunger is 400 mm).
After release, the plunger slides freely on the vertical rod to hit the specimen. The rebound height is visually measured. Each specimen is tested six times.
The first three testings are not recorded, and the subsequent rebound heights of the 4th, 5th and 6th impacts are recorded, respectively. The mean value of these three heights is the resilience value, and the result is expressed as a percentage.
Test Standard
ASTM D2632 Standard Test Method for Rubber Property – Resilience by Vertical Rebound
Main Specifications
| Model | AT-R7008 |
| Dropping Height | 400 ± 1 mm |
| Plunger Mass | 28 ± 0.5 g |
| Sample Size | 28 mm in diameter |
| Sample Thickness | 12.5 mm |
| Weight | 10 kg |
| Volume | 25 × 15 × 52 cm |
| Packaging | Wooden case |
Vertical Rebound Resilience Tester Features
- Made of stainless steel, which is corrosion and rust-resistant.
- The design is strictly based on ASTM D2632 standards.
- Simple structure and mechanism to guarantee easy operation and durability.
- Equipped with a high-precision omnidirectional bubble level and four leveling screws at four corners to adjust the perpendicularity of the plunger guide to the instrument base.
- The height of the drop point and resilience scale is adjustable.
- Fitted with an adjustable viewing window for easy reading the rebound height.
- It is convenient and easy to maintain for users.
Difference Between Vertical Rebound Resilience Tester and Schob Type Pendulum Rebound Resilience Tester
Although the test objects of the Vertical Rebound Resilience Tester and Schob Type Pendulum Rebound Resilience Tester are rubber, and they are both instruments used to understand and master the resilience of rubber and rubber products, there are still many differences between the two.
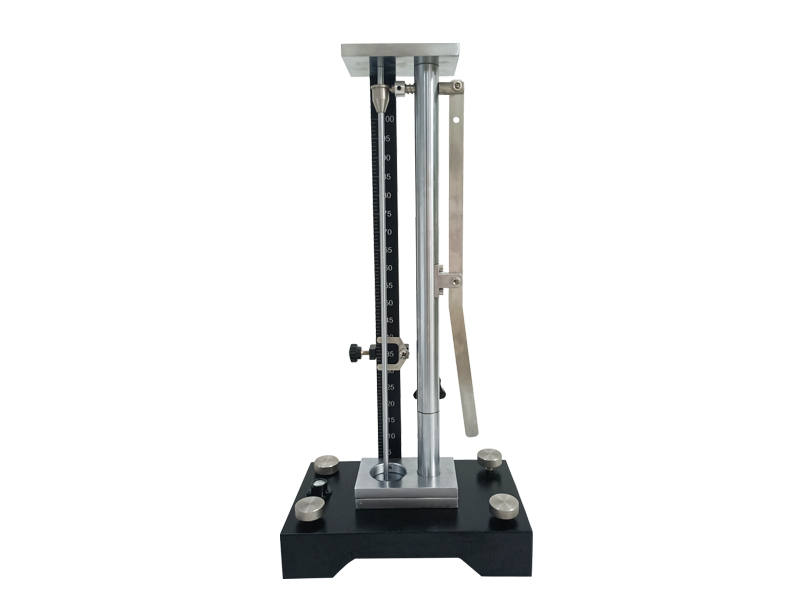
AT-R7008 Vertical Rebound Resilience Tester
vs.
Different Application Standards
The standard of The vertical rebound resilience tester is ASTM D 2632
The pendulum rebound resilience tester’s standards include BS ISO 4662, ASTM D 7121, DIN 53512, DIN 53573, ASTM D 1054, etc.
Obviously, the latter applies more standards than the former.
Different Requirements for Specimens
The vertical Rebound Resilience Tester is mainly used to test all solid rubber, and is not suitable for cellular rubbers.
The pendulum rebound resilience tester is used to test the hardness of rubber between 30 IRHD and 85 IRHD, regardless of vulcanized rubber or thermoplastic rubber. (You can use a rubber hardness tester to test the hardness of the sample before preparing the sample).
Different Test Principle
The vertical Rebound Resilience Tester determines the ratio of rebound height to drop height of a metal plunger of specified mass and shape after it falls on the specimen.
The Pendulum Rebound Resilience Tester is to determines the ratio of the energy returned to the energy applied when a hammer with a spherical indentor impacts a specimen under the prescribed conditions.
Different Test Methods
The vertical rebound resilience tester:
You raise the plunger to a height of 400 mm above the surface of the sample, and then release the plunger sliding on the plunger guide to impact the specimen in a vertical drop, to measure the rebound height of the plunger visually.
The pendulum rebound resilience tester:
You raise the pendulum rod and lock it in a horizontal position, then release the pendulum peen, and the spherical indentor attached to the hammer impacts the lower specimen laterally along an arc. The pointer on the analog scale will move the corresponding angle of rebound synchronously. You can read the rebound reading.
How to Use the Vertical Rebound Resilience Tester
- Level the tester and elevate the plunger to a given height(The top of the plunger is in line with the position of 100 on the scale which is divided into 100 equal parts. The drop height is always 400± 1 mm above the specimen surface).
- Release the plunger, ensuring it slides freely on the vertical rod.
- Measure 3 test pieces from the same sample, making 6 test determinations on each test piece. Don’t relocate the specimen once the initial test determination has been made.
- Record the last 3 test determinations as the rebound heights to calculate the test result in percent.
FAQs
To avoid damage or breakdown of the rebound instrument during transportation, the instrument will be wrapped up by air bubble film, then packaged by a wooden case. Your products will get 5-star protection.
It is convenient for you to calculate the rest result. A test determination is equal to the resilience value in percent.
The first step is twisting off the screw located in the lower half of the supporting rod, then hold the middle part of the rod with a single hand and raise the whole movable assembly to place the specimen on the fixed stainless steel seat with the other hand, enabling it to be located directly below the end of the plunger guide. Finally, put the screw back on and tighten it to lock it.
You can cut specimens from a sample or molded. The thickness is 12.5 ± 0.5 mm (0.50 mm ± 0.02 mm inch).
The drop point of the plunger is not less than 14 mm (0.5 inches) from the edge of the specimen. For circular specimens, our suggested diameter of the specimen is 28 mm.
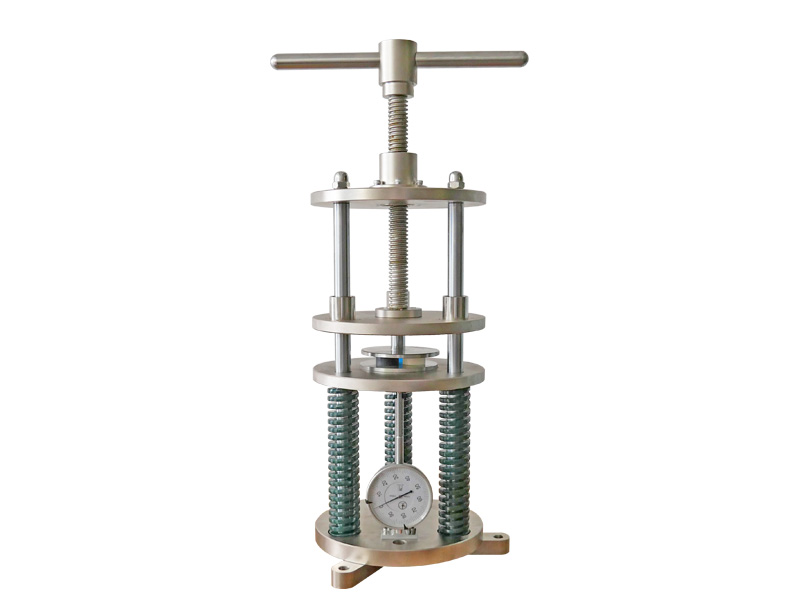
You need a mechanical spring calibration device to calibrate this rebound tester.
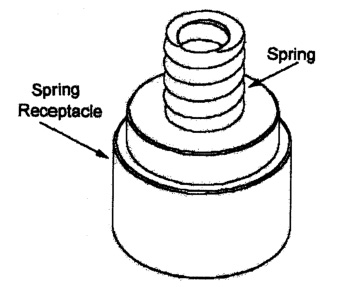
The force required to compress the spring 3.302 ± 0.0254 mm (0.130 ± 0.010 inches), while mounted in the receptacle, shall be 44.45 ± 0.4445 N (4532.6 ± 45.33 gf).
After the mechanical spring calibration device is mounted into the instrument, do the 3 sets of 5 readings and average each set. Each set becomes a test determination.
Average the 3 test determinations to the nearest whole number. This whole number is the resilience calibration value of this instrument.
In the area on the short side of the instrument’s base, you will find a circular gadget similar to a watch dial. As the instrument moves, you will see the moving liquid inside, and there is a bubble in the liquid.
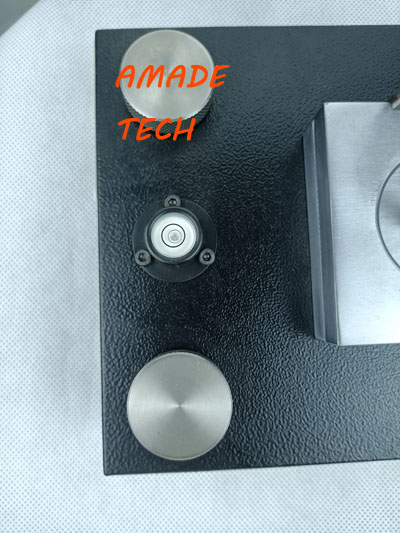
Yes, this is an universal bubble level. In addition, you can also find 4 screws at the four corners of the black base. These parts are to help you adjust the level of this vertical rebound resilience tester.
When you place the instrument on the bench in the laboratory, if the bubble is in the middle of the disc, it means that the instrument is level.
If you find that the bubble is not at the center, it means that the instrument is not in a horizontal state.
You need to manually turn one or more of the four leveling screws to adjust the height of the base in different directions until the bubble runs to the center of the disc (You are required to observe the position of the bubble when adjusting, generally in which direction the bubble is, You find the screw that corresponds to this direction, and then slowly rotate the screw to increase the height).
Send an Inquiry
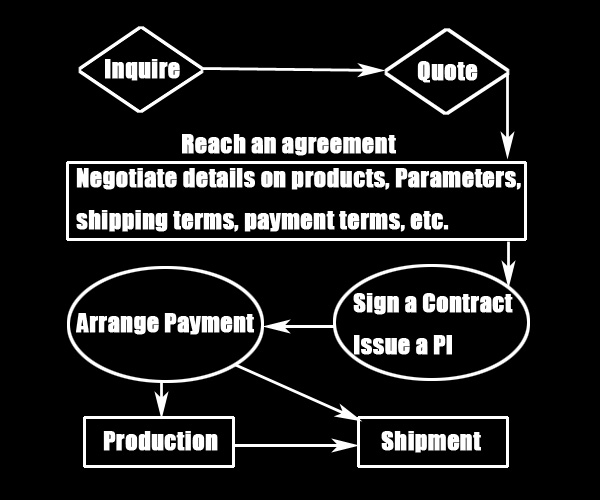
Please feel free to contact us for more details on the product, price, lead time, payment terms, shipment methods, etc. Amadetech sales specialists will respond within one working day.


