What’s DIN Abrasion Test
DIN Abrasion Test is a means to determine the resistance of rubber products to abrasion. Under a specified load, the cylindrical sample performs lateral movement on the surface of the abrasive sheet with the specified roughness level. After the specified stroke is completed, the mass loss of the sample is measured, and then the volume loss is calculated from the density of the sample. Considering the factors such as the grade of abrasive cloth, the abrasive used for the cloth, contamination and wear caused by previous testing resulting in changes in the absolute values of abrasion loss, runs of a standard reference rubber are used so that the results may be expressed either as a relative volume compared to a calibrated abrasive sheet or an abrasive resistance index compared to a reference rubber.
DIN Abrasion Meaning
The abrasion resistance test is a very important test item in many rubber product tests, and abrasion resistance is one of the important technical indicators to judge the quality, especially for rubber products such as automobile tires, whose wear performance of the sample is directly related to the service life.
The DIN abrasion test is one of the most widely used test items on Rubber parts, tires, transmission belts, soles, insulating floors, etc. It can be used for comparative testing, verifying product compliance in the research and development period, checking product uniformity during production, product quality control, referee purposes, etc.
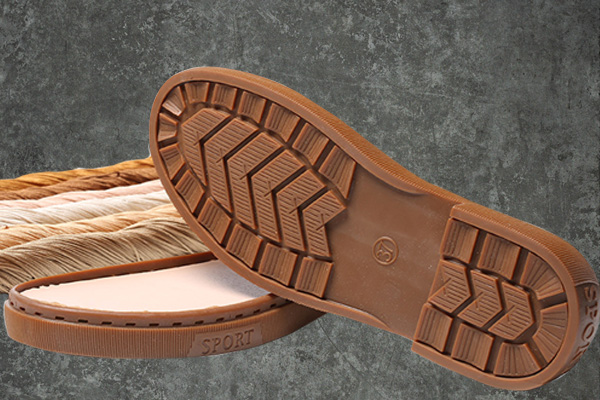
Soles
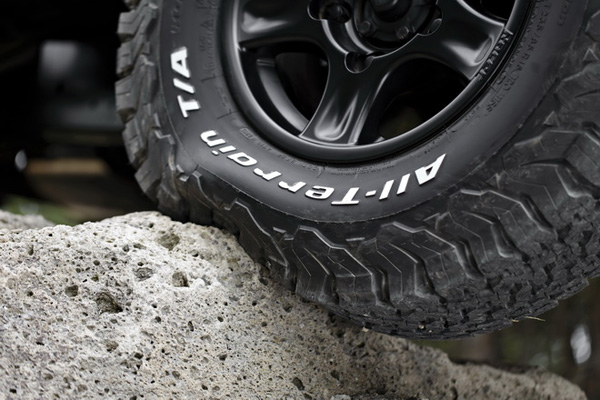
Tire
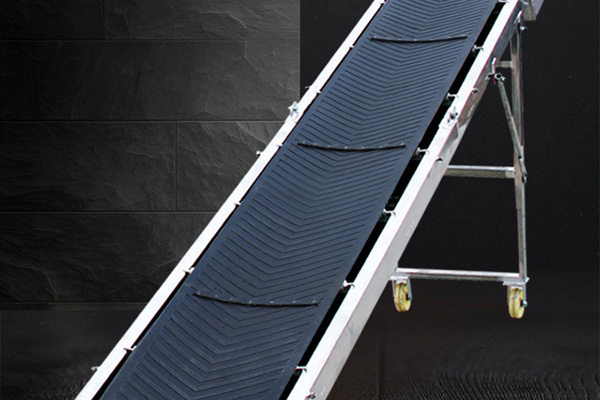
Rubber conveyor
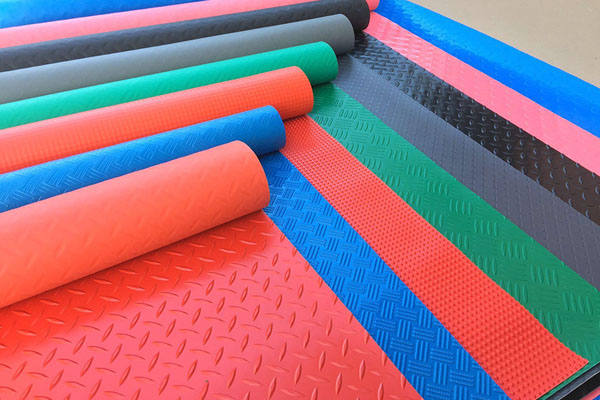
rubber floor
There are many tests to detect rubber abrasion resistance, such as the Akron abrasion test and the NBS abrasion test. Why do users so favour the DIN abrasion test? Although the first two wear tests can measure the wear performance of rubber, there are some shortcomings, such as long test cycles and repeated test routes. DIN abrasion test not only has the advantages of small sample size, short test period and non-repetitive friction path but also has many characteristics such as easy operation and maintenance of the instrument, so it has become a popular and general method for Rubber abrasion resistance testing.
DIN Abrasion Standards
Conducting the DIN Abrasion test is based on standards including but not limited to the following:
- DIN 53516
- ISO 4649
- ASTM D5963
- JIS K6264-2
- BS 903-A9
- EN ISO 20344-8.3
- AN/NZS 2210.2-8.3
- ISO 20871
- EN 12770
DIN 53516 originated in Germany. It is a relatively old standard but still plays an important role today. The version we are using now is the 1987 version. Different standards organizations around the world have further enriched and optimized on this basis and formulated different similar test standards.
ISO 4649 was born to replace DIN 53519. It allows the specimen to be rotated or non-rotated throughout the test and specifies that the test result can be expressed with a relative volume loss or an abrasion resistance index. It is one of the widely used standards for determining the wear resistance of vulcanized or thermoplastic rubber.
ASTM D5963 was formulated by the American Society for Testing Material, and its full name is “Standard test method for rubber property – Abrasion resistance”. To some extent, this standard is highly similar to the content of ISO 4649 and is widely used in the United States.
JIS K6264-2 is a Japanese standard to determine rubber, vulcanized or thermoplastic abrasion resistance. It is made based on ISO 4649.
BS903-A9 is a British standard which provides 4 methods to determine the abrasion resistance of vulcanized rubber. The DIN abrasion test belongs to method A.
The rest standards are used for determining the resistance of outsoles to abrasion.
DIN Abrasion Testing Machine
Various standards specify the testing equipment required. The core parameters and functions are almost the same, so we only need oneDIN rubber abrasion testing machine to be compatible with all standard requirements.
The DIN rotating cylindrical drum device mainly comprises a rotatable drum of 150 mm in diameter and a horizontally movable sample-holding device. The cylindrical drum is capable of rotating at a constant speed of 40 rpm, and an abrasive sheet of a specified grade is required to be attached to the surface of the drum for abrasion.
The sample holding device features an opening to house a cylindrical test piece of 16 mm in diameter. It requires the sample end to be ground to protrude 2 mm from the opening. You can set the machine to allow the sample to rotate or non-rotate during the test. The machine comes with weights of different masses to achieve different loads applied to the sample.
For more details on the DIN abrasion testing machine, please click HERE to learn more or directly get in touch with AMADE TECH.
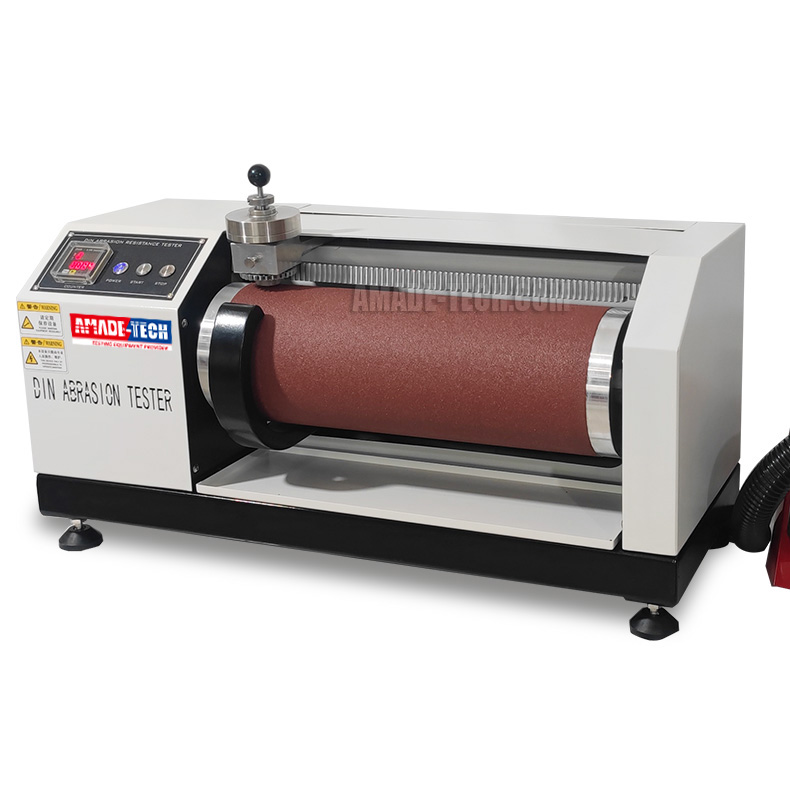
DIN Abrasion Resistance Tester
DIN Abrasion Test Procedure
For detailed test procedure step by step, please move to read this Article on DIN Abrasion Testing Process
Sampling
There are 2 methods to prepare the samples.
One is that the specimens are vulcanized or formed in a mould, and the other is that the specimens are prepared from the moulded sheet using a hollow drill with the help of a drilling machine. Both are obtainable from AMADE TECH.
The required shape of the sample is cylindrical, whose diameter shall be (16±0.2) mm and thickness shall be at least 6 mm. If the sample thickness can’t be achieved, it allows you to bond a piece of the sample not less than 2 mm to a base element of hardness not more than 80 Shore A to obtain the necessary thickness.
Preparing the standard reference rubber is also applicable to the above methods.
Regarding the sample quantity, please follow the instructions in the standard you cite. Generally, a minimum of 4 test pieces (1 for measuring density and other 3 for test runs) and 6 standard reference rubber are required.
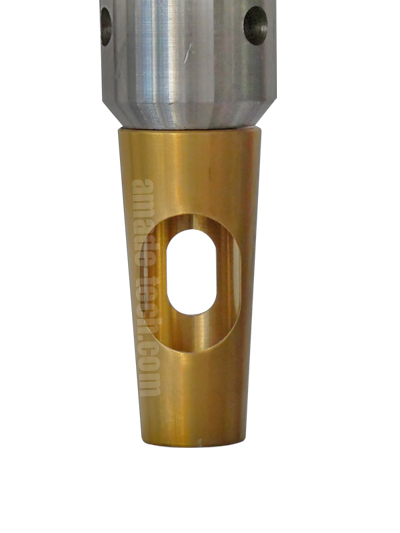
Hollow Drill
Test Run
Note: The mass loss of the standard reference rubber needs to be controlled in the range of 180 mg to 220 mg. If it is more than 220 mg, you are required to mount the attached aluminium block in the sample holder to rub against the abrasive sheet until it reaches 220 mg. If it is less than 180 mg, the abrasive sheet must be replaced with a new one.
DIN Abrasion Calculation
You can express the test results with either a relative volume loss or with an abrasion resistance index.
Before caculating above both, you need to first calculate the mean value of the mass losses of the test rubber, Δmt , and of the reference rubber, Δmr.

Where
Δmt is the mass loss, in mg, of the test rubber test piece
S is the defined value of the mass loss, in mg, of the reference rubber test piece (200 mg is defined for method A using standard reference rubber No. 1)
D is the density, in mg/mm3, of the test rubber
Δmr is the mass loss, in mg, of the reference rubber test piece

Where
Δmr is the mass loss, in mg, of the reference rubber test piece
Dt is the density, in mg/mm3, of the test rubber
Δmt is the mass loss, in mg, of the test rubber tet piece
Dr is the density, in mg/mm3, of the reference rubber
For more details on the test procedure, please reach us to get related standards you follow.
Final Thoughts
DIN abrasion test has very important applications in rubber related industries. It is a powerful auxiliary means for new product development and quality inspection. By reading this article, you must have a comprehensive understanding of DIN abrasion test. If you have any questions or are interested in DIN abrasion tester, please feel free to contact us. Our sales engineers will answer your questions as soon as possible.

