ISO 4649 Rotary Drum Abrasion Tester China Manufacturer and Supplier
Din abrasion tester is used to determine the wear resistance of vulcanized rubber, elastomers or thermoplastics subjected to wear by abrasive action. During the test runs, it allows a cylindrical test piece to slide over an abrasive cloth of the specified abrasive grade under specified contact pressure over a given distance.
The rotary drum DIN abrasion tester is an essential device for comparative testing, quality control, specification compliance testing, new product research and development, etc.
It is one of the important members of rubber wear resistance test equipment. Others include TABER rotary abrasion tester, NBS abrasion tester and AKRON abrasion tester.
Test Principle
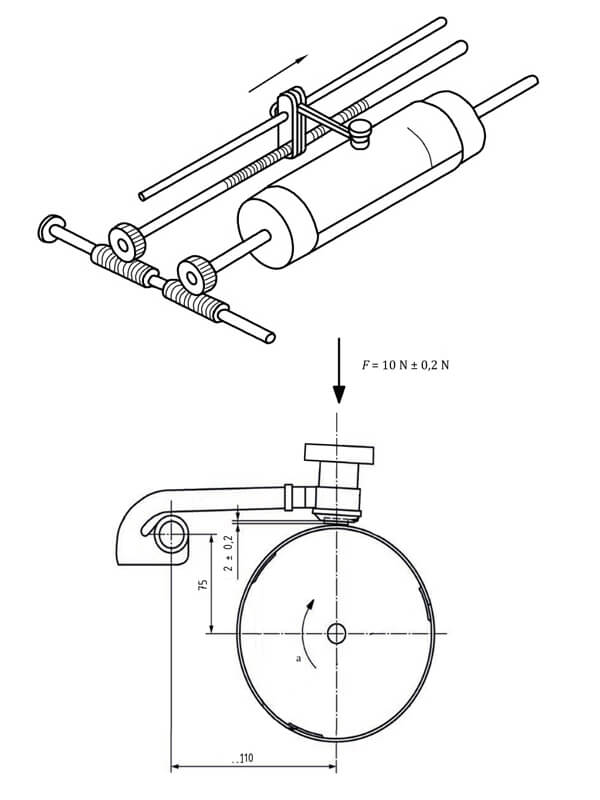
A cylindrical test piece fixed in the sample holder is lowered to be pressed against the abrasive cloth attached to the surface of the cylindrical drum under a specified pressure. The abrasion action of rubbing the test piece occurs with its lateral movement over a specified grade of abrasive cloth while the drum is revolving.
The mass loss of the test piece is measured and converted to the volume loss with the aid of its density. The volume loss of the test piece is compared to that of a reference rubber tested under the same conditions.
A relative volume loss or abrasion resistance index can express the extent of the abrasion resistance. For relative volume loss, a smaller number indicates a better abrasion resistance. While for the abrasive resistance index, a smaller number indicates a lower abrasion resistance.
Product Description
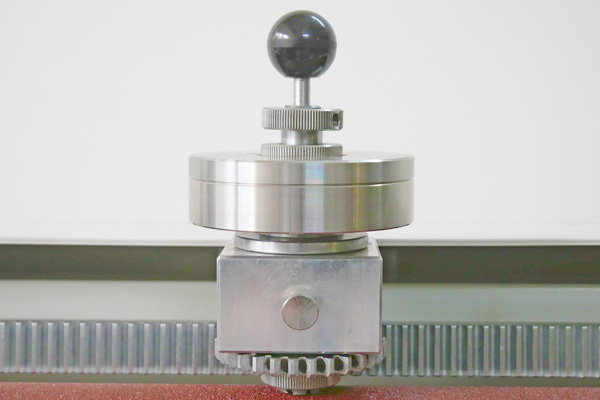
Specimen Holder
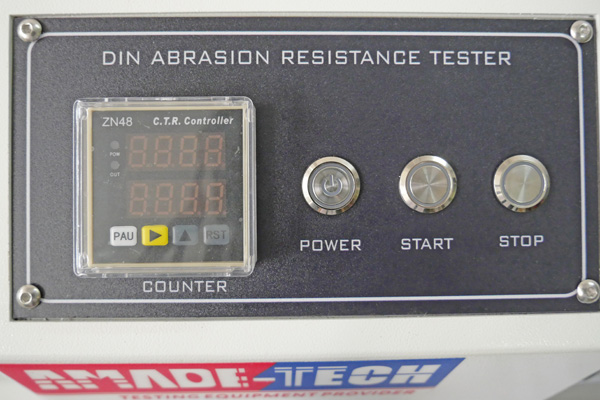
Control Panel
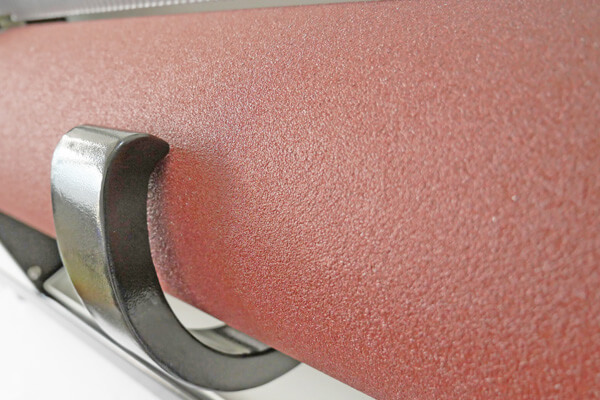
Suction inlet
Our DIN abrasion tester features a rotatable cylindrical drum covered with a sheet of abrasive cloth. The drum of 150 mm in diameter and 460 mm in length can rotate at a frequency of 40 revolutions per minute to drive the swivel arm to move laterally at 4.2 mm per revolution under control.
There is a specimen holder attached to the end of the swivel arm. The holder has a cylindrical opening whose diameter can be adjusted from 15.5 mm to 16.3 mm to accommodate the cylindrical specimen of a diameter of 16 mm. By turning the nut at the top of the holder, you can easily adjust the depth of the opening to facilitate the mounting and dismounting of specimens. In addition, we provide you with a metal gauge to adjust the specimen’s length protruding from the opening to 2 mm exactly. It is equipped with replaceable geared and non-geared discs for the holder assembly, allowing the specimen to rotate or non-rotate during the test based on requirements. The holder without mounting the sample is 1 mm above the longitudinal axis of the roller when the swivel arm is lowered, and the centre axis of the holder is inclined to the perpendicular in the direction of rotation by 3°.
We provide weights to achieve vertical forces of 2.5N, 5N and 10N applied to the specimen against the cylindrical drum during the test. You can select an appropriate pressure depending on the test requirements.
We configure a concise control panel for the rotary drum abrasion tester, which comprises a digital revolution counter and three physical keys to facilitate your operation. The digital counter allows you to conveniently preset the number of revolutions (normally 84 revolutions, equivalent to 40 m) by pressing corresponding keys. The real-time number of revolutions the machine has run is displayed on the screen. You can manually start and stop the test at any time. Thanks to the digital control system, the machine will stop automatically once the desired number of cycles is achieved.
AmadeTech can supply 2 models of DIN abrasion testers: AT-R7010-A & AT-R7010-B.
AT-R7010-A is a plain version requiring you to clean the abrading residue using a brush while testing. AT-R7010-B is a premium version with a vacuum cleaner to automatically eliminate debris during the test and avoid manual cleaning of the abrasive cloth. You don’t need to take a brush and stand next to the machine to remove abrasive debris while testing.
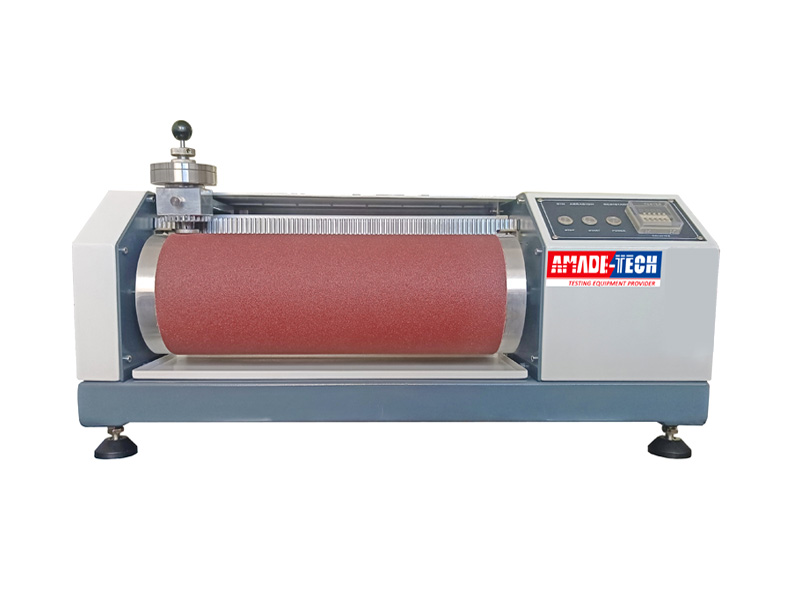
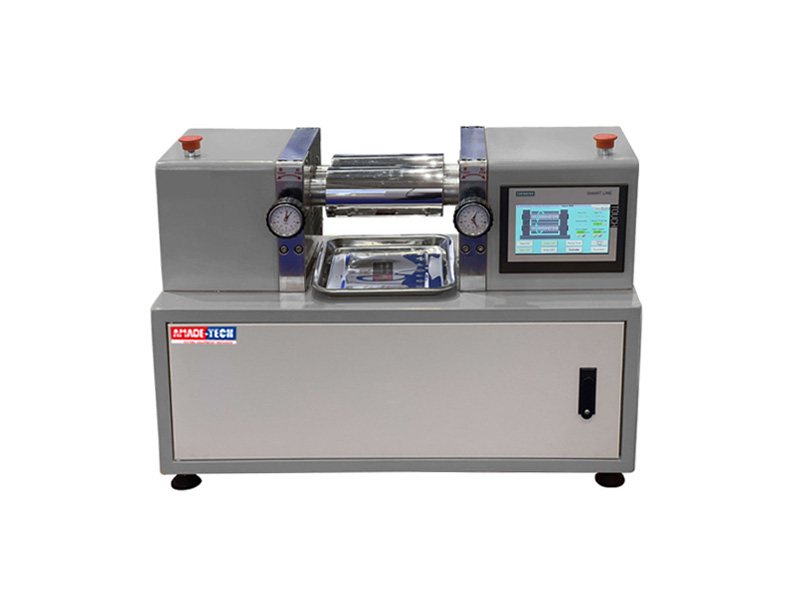
AT-R7010-A
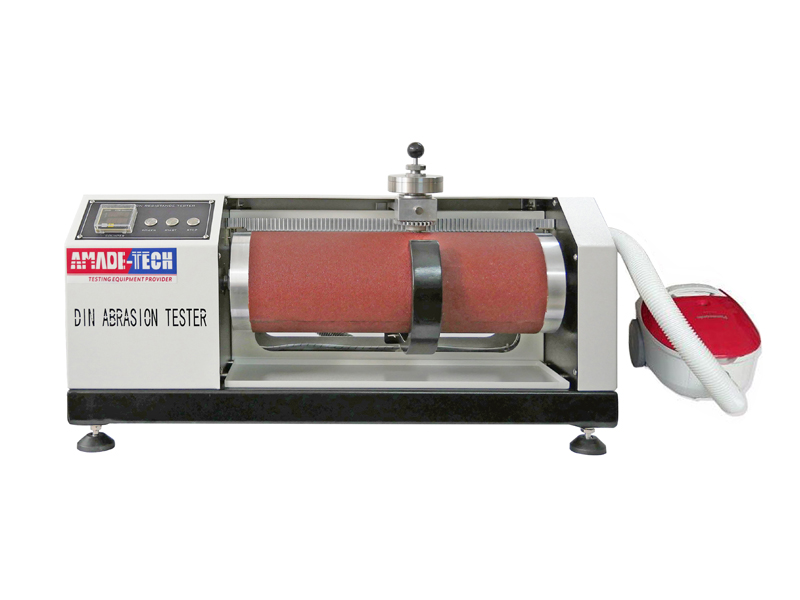
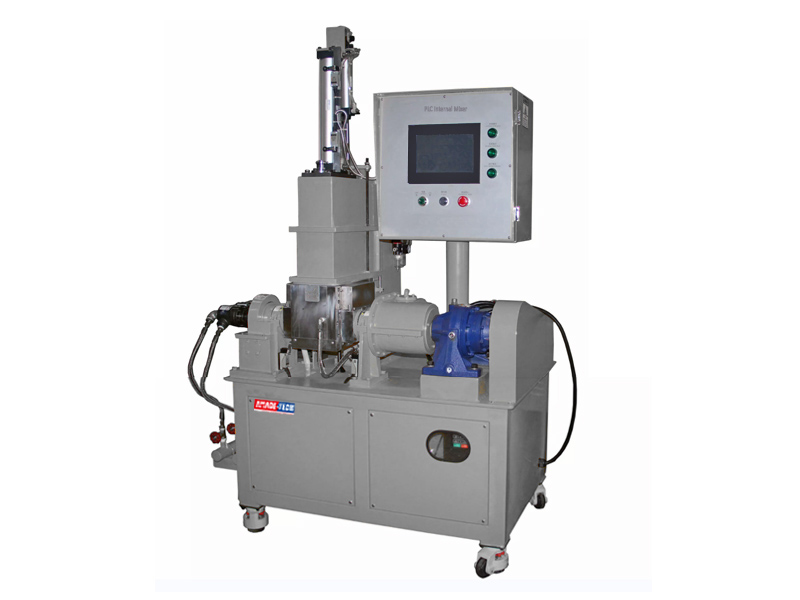
AT-R7010-B
In addition, we are available to supply more models with individual requirements, such as the machine with double specimen holders. Please feel free to reach us if you have any needs.
| model | AT-R7010 |
| Specimen size | φ 16 mm, thickness: 6 ~ 15 mm |
| Specimen Load | 10 N in total |
| Load of Holder | 2.5 N |
| Weights | 2.5 N + 5 N |
| Drum Diameter | φ 150 mm |
| Drum Length | 460 mm |
| Rotating Speed of the Drum | 40 rpm |
| Abrasion Stroke | 40 m / 20 m (about 84 r / 24 r) |
| Lateral Displacement | 4.2 mm / r |
| Inclination Angle of the Holder | 3° (the central axis of the holder to the perpendicular in the direction of rotation ) |
| Counter | Digital display |
| Gross Weight | About 60 kg |
| Power Supply | AC 220 V / 110 V, 1 phase, 3 A |
| Dusting Method | By brush / Vacuum |
- DIN 53516 Testing of rubber and elastomers, determination of abrasion resistance
- JIS K6264-2 Rubber vulcanized or thermoplastic – determination of abrasion resistance
- EN ISO 20344-8.3 Determination of outsole abrasion resistance
- AN/NZS 2210.2-8.3 Determination of outsole abrasion resistance
- ISO 4649 Rubber, vulcanized or thermoplastic- Determination of abrasion resistance using a rotating cylindrical drum device
- BS903-A9 Method A Methods of testing vulcanized rubber – determination of abrasion resistance
- ASTM D5963 Standard test method for Rubber property – Abrasion Resistance(Rotary Drum Abrader)
- ISO 20871 Test methods for outsoles-abrasion resistance
- EN 12770 Test methods for outsoles-abrasion resistance
Standard Configurations:
- DIN Abrasion machine 1 pc
- Extra weights: 2.5 N 1pc & 5 N 1pc
- Specimen mounting gauge 1 pc
- Pre-grinding metal block 1 pc
- Sample cutting die 1 pc
- Standard reference rubber(in conformance with ISO 4649, Annex B, Clause B.2) 3 pcs
- Germany VSM abrasive paper P60 1 pc (410 x 476 mm)
- Cleaning brush 1 pc
- Vacuum(for AT-R7010-B) 1 pc
Optional Configuratuions:
- Electric drilling machine for sampling
- Electronic Density balance (to an accuracy of 0.001g)
- Germany standard rubber sheet
- Germany VSM abrasive sheet (P60)
AmadeTech Abrasion Machine Features
- The housing is made of precision steel and treated by anti-corrosion and anti-rust processes.
- Fitted with a special device to enable rotating or non-rotating test pieces.
- The abrasive sheet is easy to be replaced with the help of double-sided adhesive tape and an appropriate amount of liquid glue.
- Equipped with a user-friendly control panel for users to conveniently set the number of revolutions and control the test.
- Configured with a digital display to present real-time running laps.
- The drum stops automatically once the preset number of rotations is achieved.
- Comes with two weights of different masses to achieve an intended pressure of 2.5N, 5N, or 10N against the cylindrical drum.
- The suction device is available if required by you.
- Personalized customization of adding more specimen holders to the tester is available.
FAQs
Leave Your Message Here
Please feel free to contact us for more details on the product, price, lead time, payment terms, shipment methods, etc. AmadeTech sales specialists will respond within one working day.


